 Skip to content


Installing a Candock Dock: How to + Tips & Myths Debunked
Candock designs its docks to be practical, well-designed, durable… and easy to assemble. Whether you’re a seasoned DIYer or installing a dock for the first time, you can absolutely handle the installation yourself, provided you follow the recommended steps.
Before we clear up some common misconceptions, here’s a quick overview of the assembly process:
Assembly Procedure – A Summary
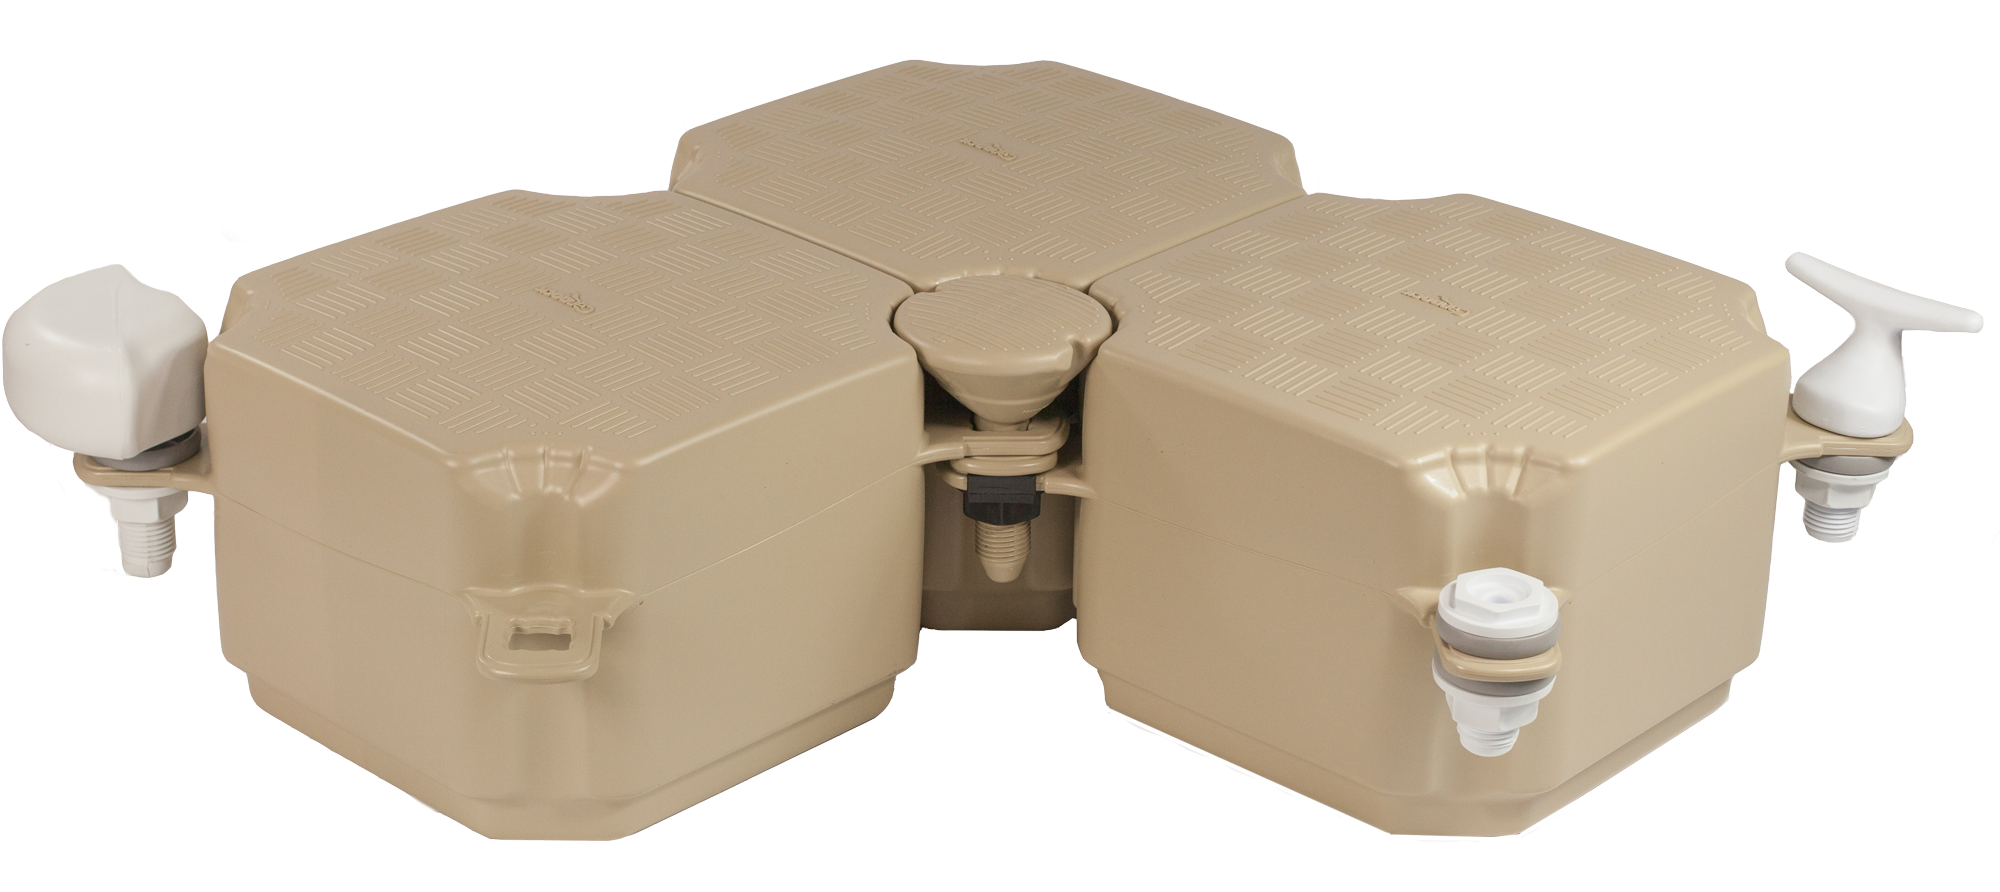
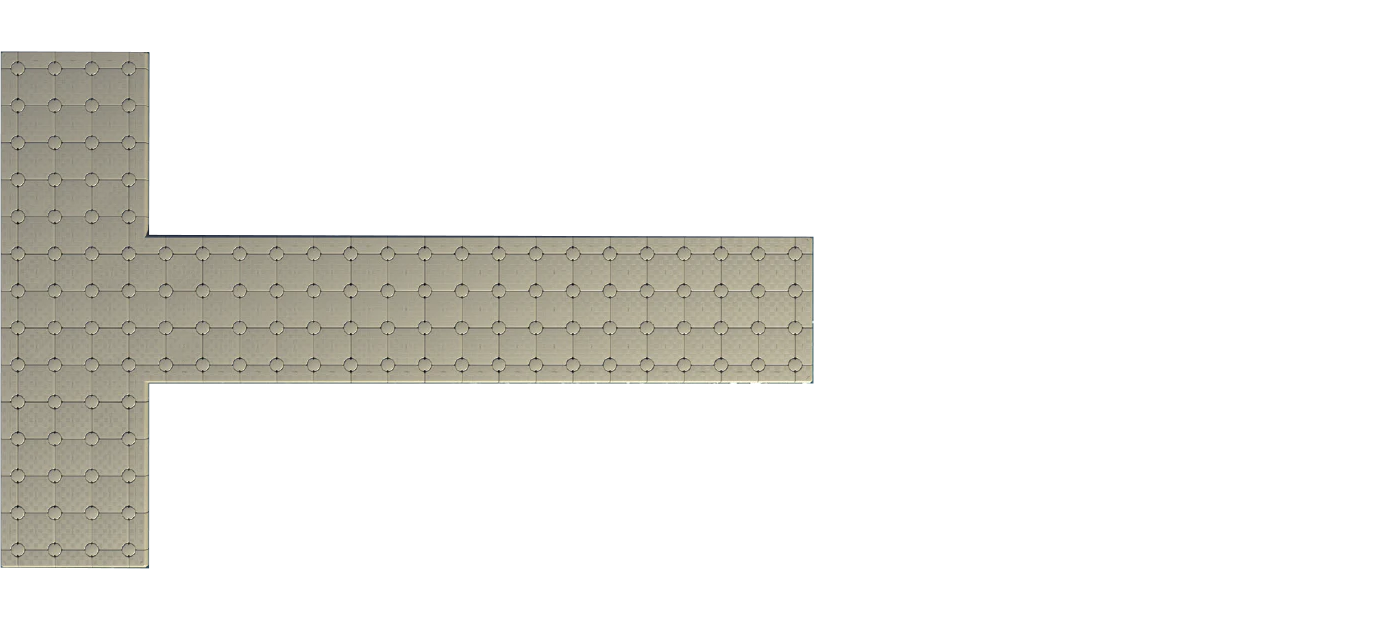
Installing a Candock floating dock is all about using a smart, modular system designed to be intuitive and long-lasting. Start by assembling dock sections on a flat surface, ideally on land. Have all components at hand: cubes, connecting pins, sliding nuts, spacers, bolts, and regular nuts. Each connection point must allow proper overlapping of the tabs. Place a sliding nut on the lowest tab, and use spacers to fill empty spaces and ensure solid alignment.
Once your sections are ready, float them onto the water and complete the assembly by firmly tightening the pins and reinforcing the dock perimeter with bolts and nuts. This ensures a stable, durable, and adjustable structure.
Accessories like bumpers, cleats, ladders, and benches are designed to easily integrate into the modular system. They attach directly to the tabs using the same hardware. For convenience, we recommend installing accessories during the land-based assembly, before launching the dock.
And for a clean and polished look, orient each cube’s vent plug toward the shore.
Note
This is just a general overview. For a step-by-step guide, refer to our Owner’s Manual.
Prefer to learn by watching? Check out our video tutorials, covering cube assembly, accessories, dry-dock systems (JetRoll and JetSlide), and gangways.
Installation by a Candock Distributor
Prefer to leave it to the pros? That’s an option—sometimes even recommended, depending on the complexity of your project.
Our authorized distributors offer full-service installation, including:
- Dock delivery and transport
- Full assembly on site
- Anchoring suited to your body of water
- Installation of specialized accessories (JetRoll, gangways, ramps, etc.)
Hiring a distributor also ensures the installation meets Candock standards—making it easier to activate your warranty. This is a great choice for large docks, difficult terrain, or if you simply want to save time.
Find an authorized distributor near you through our dealer directory.
True or False: What You Need to Know About Installing a Candock Dock
Now that you’ve seen how the installation works—and that you have the option to delegate it—let’s clear up a few misconceptions. From popular beliefs to frequently asked questions, here’s a round of “True or False” to help you move forward with confidence.
1. I can install my dock myself.
TRUE
Candock docks are designed to be DIY-friendly. Your dealer will provide all the necessary information, and our tutorials are there to guide you. That said, professional installation is available if you’d rather leave it to an expert.
2. I can assemble my dock directly on the water.
TRUE... but not ideal
We recommend assembling the dock on land in sections. Once ready, float them out and complete the connections. This makes handling easier, reduces alignment issues, and ensures greater stability.
3. You need complex tools to install a Candock dock.
FALSE, but...
While no complex tools are required, Candock offers a full range of purpose-built tools to make the job easier and faster. At the minimum we would recommend equipping yourself with a Candock connecting pin and a nut/bolt assembly tool (manual and drill compatible versions available) for DYI installation. This will allow you to reconfigure or extend your dock in the future without the need to call on installation services.
Assembly wrenches, socket attachments, anchoring tools, and railing tools are designed specifically for the modular system. Using the right tools leads to a better installation—and they’re all available through Candock.


4. Installing a Candock dock takes a lot of strength.
FALSE
Each cube weighs just around 11-12 lbs and is easy to handle. The process is more about precision and planning than physical strength. Still, for large docks or water-based assembly, a helping hand is always useful.
5. All accessories can be installed later.
TRUE
Many accessories can be added later - which means you can upgrade your Candock floating dock over the years without going through expensive retrofit nor the need of specialized installation services.

6. Once installed, the dock configuration is final.
FALSE
Candock docks are modular and fully adaptable. You can expand, reshape, or add new accessories anytime—without having to start from scratch.
7. If I install the dock myself, I lose the warranty.
FALSE
You can install the dock yourself and still benefit from the warranty—as long as installation guidelines are followed. Be sure to register your products after installation and keep proof that the setup meets Candock standards.
8. I need a permit to install a dock.
TRUE... sometimes
Requirements vary by municipality and body of water. Always check with local authorities before starting installation.
9. I can remove my dock in fall and reinstall it in spring.
TRUE
That’s one of the big advantages of a modular dock! It’s easy to disassemble, move, and reassemble. In many cases, you can even leave it in the water year-round—Candock systems are made to withstand tough winter conditions.
Talk to your distributor or contact us for recommendations based on your location.
In Summary
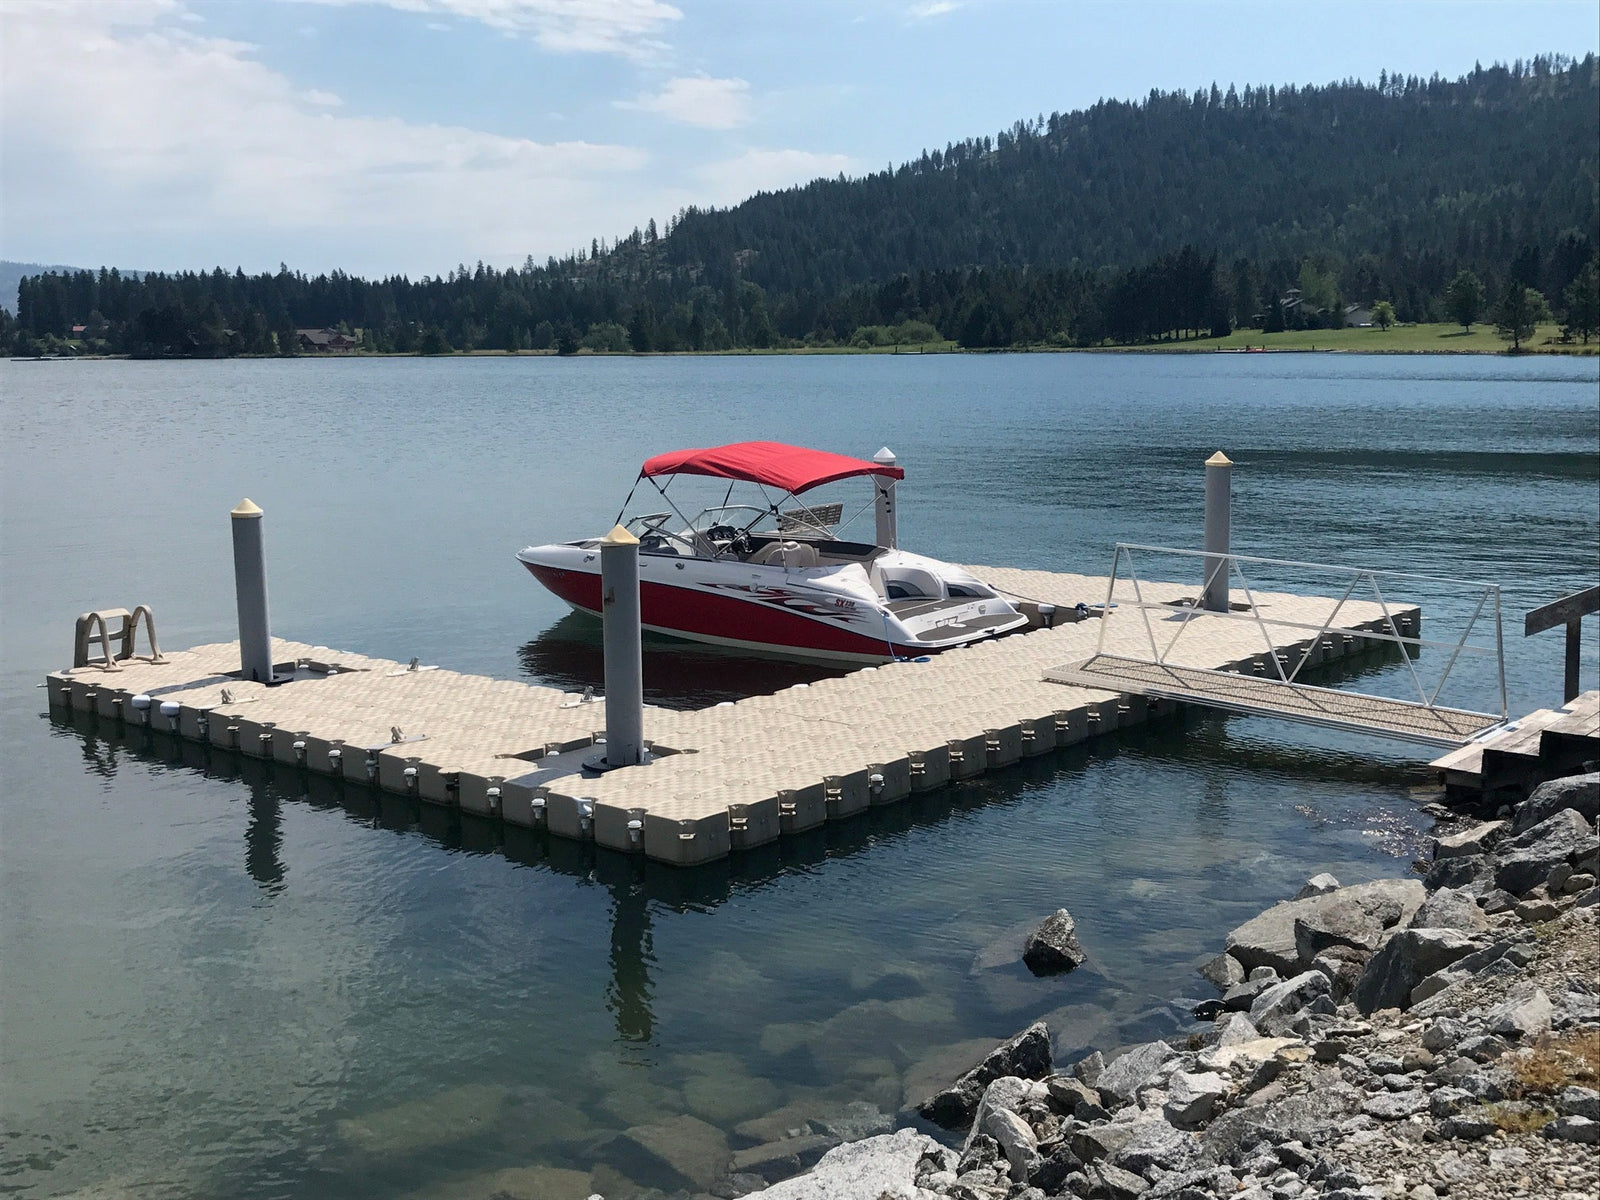
Modular, lightweight, durable, and easy to assemble — every part of the Candock system is designed to simplify installation, no matter your level of experience.
Whether you choose to install it yourself or work with a distributor, you’ll benefit from a system built to adapt to your reality, your shoreline, and your specific needs.With the right tools, the right steps, and the right support, your dock comes together hassle-free — and you’re all set to enjoy the season to the fullest.
Do you have questions or a project in mind? Our team and network of distributors are here to guide you every step of the way.